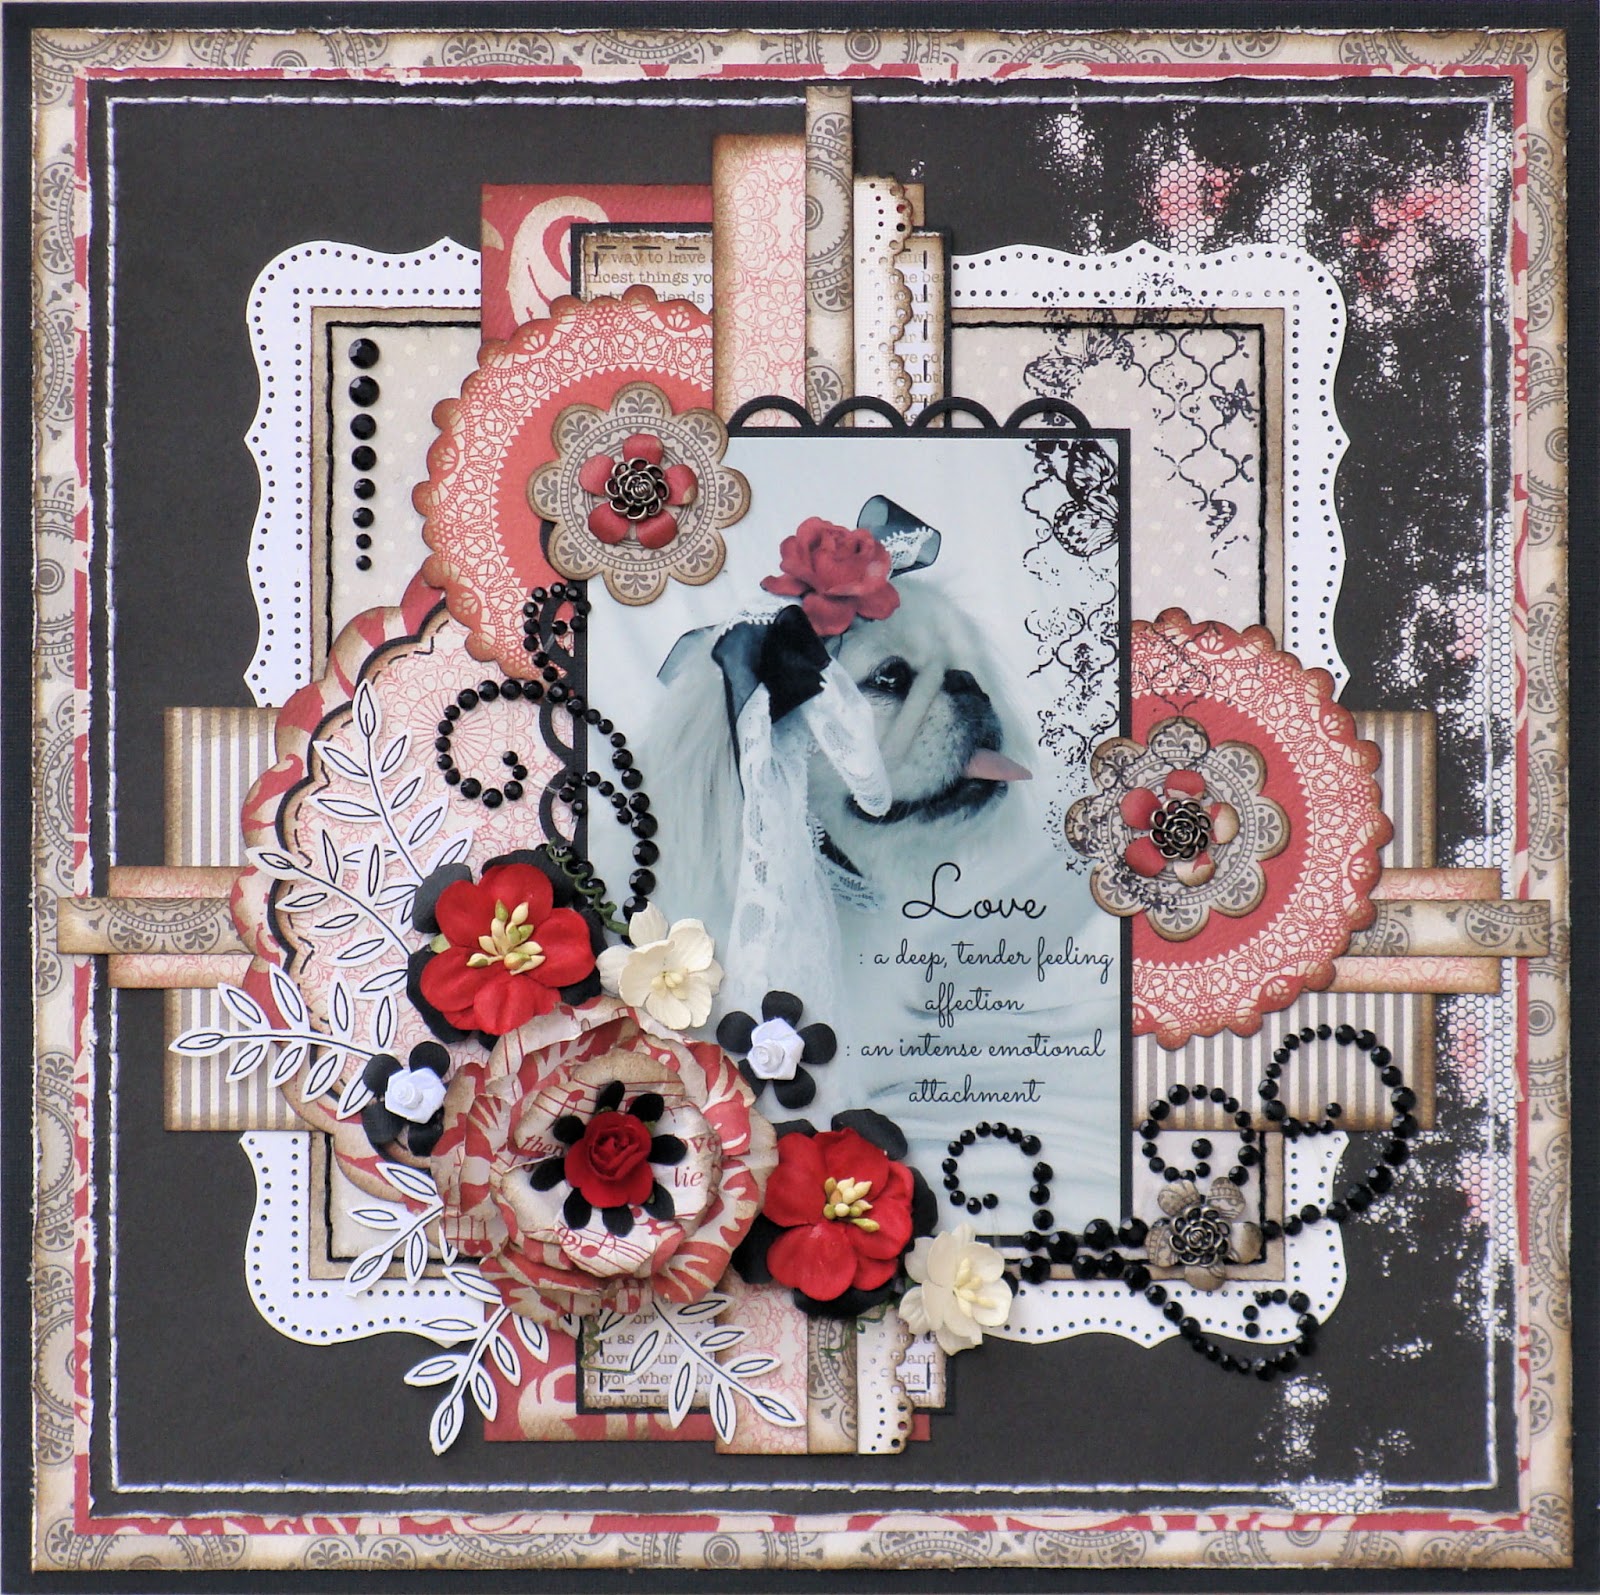
Hi friends!! I have another project to share with you which I did for
Maja Design and I'm feeling rather sad that my month as guest is almost over :( I am loving each and every one of these papers and I would just like to mention to my South African friends that these papers are available from
Scrap and Card Boutique . Merle has a lovely selection of Maja Papers. The little lady in the photos is as most of you know by now, my sweet Miss Molly. The two of us are joined at the hip :) If you're curious to know how I made the beaded flowers on this layout, I have done a little tutorial which you will find at the end of this post. I have no idea what flowers they are so I kind of invented a name for them and called them "Beaded Delphiniums"..lol!! They look so cute if you do them in blue because then, at a glance they really do look like little Delphiniums.:) AND they are super easy to make. Yes, I know that Delphiniums don't hang downwards and they are not viny either but in the scrapping world we don't care, do we?? LOL!! Oops, almost forgot to give Vicky Alberto credit for teaching me how to make the white flowers with her wonderful tutorial which you can find
here. Whilst mine are not nearly as pretty as Vicky's, I just love them and loved making them :) Thank you Vicky...your flowers are just awesome :)x
Products used:
Vintage Summer Basics - 1922
Vintage Summer Basics - 1904 BS
Vintage Summer Basics - 1933
I have also used the beautiful flourish from
Flourish With A Bling being
FWAB Grace Pearl Flourish.
Other products used:
Imaginarium Designs - Silver fern leaf
Imaginarium designs - 4 Small Butterflies
Martha Stewart Punch
Clearly Impressed Stamp
Prima Bird Cage
Chiswick Alphabet 2
I also stumbled upon a beautiful sketch on Pinterest and traced it back to
Scrap Friends.
I thoroughly enjoyed working with this sketch and just wanted to say thank you for the inspiration :)
Here is the littlle tutorial as promised. Should you give it a try, please send me a link to your layout so I can admire your beautiful little "Delphiniums"...lol!
Materials needed:
Wire
Florists tape
Seed beads (colour of your choice)
Glue gun
Wire Cutter
Step 1.
Cut a few pieces of wire in different lengths.
Step 2.
You now have to work relatively fast as hot glue dries very quickly. Heat up the glue gun. Take one strand of wire and adhere hot glue to one end of the strand. It looks very "blobby", but don't worry about that. I covered about 3.5cm with hot glue.
Step 3.
While the glue is still hot, dip it into your little bowl of seed beads and twirl it around so the beads can cover all the glue.
Step 4.
Whilst the glue is still warm, press the beads firmly into the glue using your fingers. If you find that not all the spots are covered, you can always just add an extra little bit of glue on those spots and then dip it back into the bowl of beads.
Step 5.
Gently remove any excess loose beads and this is what it should look like when it's nicely covered.
Step 6.
Now you can take a strip of florists tape and start winding it around the wire starting close up against the beads, working your way down.
And this what they look like when they are all finished and ready to "prettify" (is that a word?) your page!!
I think they are just too cute and the nice thing about them is that there are no two that are the same. Have fun and I hope you enjoy making them as much as I did!!
I have the flu so I'm on my way back to bed and no doubt Miss Molly will join me :)
Till next week, take care and stay safe!! xx






.jpg)