Thursday, April 11, 2013

Pine Cones Tutorial

I needed some pinecones for a layout and I was desperate to find a way somehow to make them and I searched the net and couldn't find anything or at least nothing I liked so I figured that I'm going to have to dig deep into the little bit of creativity I have lurking around somewhere and after lots of trials, this is the idea I came up with to solve my problem. I know there is a Sizzix die out there but I was not going to buy a new machine to solve my problem, however tempting it was...lol!!

You will need very basic materials:
Tan cardstock
Glue
Decorative scissors (scallops)
Walnut stain distress ink
Scissors
Stylus

Step 1.
Use a pencil and draw a spiral on the wrong side of your cardstock measuring approx. 7.5cm in diameter. I drew the spiral free hand as I don't know of any other way to do it.


Step 2.
Use your decorative scalloped scissors and cut out the spiral all along the pencil lines.


Step 3.
Turn the spiral over to the right side and ink the scalloped edges of the spiral with Walnut Stain distress ink.


Step 4.
Use your small scissors and make a small snit  a little more than half way between every scallop.


Step 5.
Turn your spiral over to the wrong side again, place it on a mousepad or any foam pad and roll the entire spiral with your styles, especially the pinecone petals, and you will find that your spiral starts curling. Don't worry about the pencil marks as they will not show once your little cone has been completed. This picture does not do justice to how you need to press down on the spiral and roll at the same time as it is pretty hard to do that with a camera in the left hand and a stylus in your right hand but I'm sure you get the idea. The down side of being alone at home most of the time is that you have nobody to take the photo when you need both hands...lol!


This is what your spiral kind of looks like once you have finished the step with the stylus.


Step 6.
Now we need to start rolling this spiral. So, with the right side of the spial facing you, grab a thin paintbrush or knitting needle and secure the tip of the spiral to the spiral with some glue. I use a knitting needle and please ignore the "used" look of it...it works hard especially when I use it to work with wire..lol!


Step 7.
Start rolling the spiral and at the same time put a few blobs of glue at intervals along the bottom edge to secure the spiral. Roll the spiral round and round and with each twirl roll it slightly downwards so that with each turn your petals will be below the prevoius layer of petal. You don't want it to become a flower. By the way, this method makes the cutest little flowers too. Once you have done a few turns, remove the knitting needle or whatever it is that you are using and turn it with your fingers....much easier and you have more control.


Keep rolling around and downwards and don't forget the little blobs of glue at intervals and it should start looking like the one in the pictures below.


Step 8.
When you get to the end, put a good blob of glue in the centre to secure the bottom edge of the spiral to the bottom of your little cone. Oops, it looks like I put too much glue on but it worked out well in the end. Press the end of the spiral firmly against the bottom of your cone and leave it until the glue is dry.


It should now look similar like the one in the picture below which is a sideview of the cone.


And here is a picture of what your cone should look like at the bottom.


Step 9.
Once the glue is dry you can now take a pair of tweezers or something and just gently start folding each little petal slightly outwards.


And this is what your little cones will look like when they are finished. I hope you like them :)


It took me quite a while to complete this tutorial because I had to rush out to the vet to get some cortisone for Miss Molly and on my way home I found a newborn calf in the middle of nowhere and his mother was nowhere to be seen. I couldn't just leave the little baby and started devising all sorts of schemes to get this little calf home at least until I could get hold of the SPCA to come and collect him. Little did I know that this rescue mission was going to be a case of biting off more than I can chew. Nobody wanted to help me get the little calf into my car because they were afraid of being accused of stocktheft. Well, that was the least of my problems and when I finally  got the little calf home I realised how dehydrated the little creature was. How do I get him to drink something?? I proceeded to pour some milk into a bucket, held my fingers in the milk and pushed his head down into the bucket and he immediately started suckling on my fingers and that way the two of us managed to get some milk down his little throat. Needless to say that by this time I actually became quite attached to the little calf and wanted to keep him but I knew that my husband would most definitely draw the line right there. A cow in my neighbourhood??? He doesn't think so...lol!! Well now the little calf is with the SPCA and I'm feeling quite bereft....:(. And now that I've got that off my chest I hope you enjoy and understand my tutorial :) I'm not very good at explaining things. I would much rather show than tell...lol! If you would like to give this a go and there is something you don't understand OR you have a better way of making pinecones, please let me know :) I would be very happy to hear from you :)

Till next time, take care and be happy!xx


Saturday, April 6, 2013

A Little Ray Of Sunshine - Maja Design


Hello my friends :) Just sharing a layout I did for Maja Design as Guest Creative Team Member for April. I am so totally in love with the Vintage Spring Basics range :). For some reason unknown to me, I always seem to shy away from yellow but I just LOVE the beautiful soft yellow tones in these papers and was drawn to it at first glance.  The little beauty in the photograph is of course my sweet, precious little niece Isabella who truly is a ray of sunshine in every sense of the word.:)

Products Used:
Vintage Spring Basics


 Vintage Spring Basics 1st of March


Vintage Spring Basics 2nd of April BS


Vintage Spring Basics 7th of April


Vintage Spring Basics 7th of April BS


I also used Flourish With A Bling 100 Pack Adhesive Pearls in Antique Gold and Pearl.

And that my dear friends, is all for today. Till next time...happy scrapping!!xx

Tuesday, April 2, 2013

Spring - Maja Mood Board


Hello ladies :)
This is my very first project for Maja Design  as April's Guest Creative Team member and I created this one for Maja's April Mood Board using their gorgeous Vintage Spring collection. These papers are just so beautiful and the colours are so soft!! Just love it!!

Product used:
Vintage Spring Basics 7th of May
Vintage Spring Basics 4th of March

So, if you have a moment, hop over here and have a look at the mood board and the details of the challenge.


Till next time...happy scrapping!!xx

Maja design - April Guest Creative Team member

Hello girls :)

Just wanted to share something very exciting with you today :) I am so very fortunate to have been invited as Maja Design's  Guest Creative Team member for the month of April. I count myself very privileged and very lucky to have the opportunity to work with such beautiful papers. Thank you very much to Jenny and the team for the honor and this amazing opportunity:)


Sunday, March 24, 2013

Happy Hours On Tamborine Mountain - Once Upon A Sketch March Challenge


Hello friendies! March is gone...anyone know where it is? Didn't get much done this month but I was not going to miss out on an opportunity to take advantage of another beautiful sketch by Nadia at Once Upon A Sketch for the March challenge. The theme of the challenge is "It's the Weekend". This photo of little Isabella was taken during my visit to Australia in 2012. One weekend we decided to drive up Tamborine Mountain and the beautiful scenery took me right back to South Africa even though I was in a different country and the few hours we spent there almost made me feel like I was back home together with my family. Of course little Isabella took every opportunity to explore, and of course I took every opportunity to take a picture. At five years old, this little girl already has such a busy little life..school, homework, karate, swimming and the list goes on, so when the weekend arrives, it's bliss not only for her, but also for Mommy! :) Here is the gorgeous sketch for this month. Journaling is done on a piece of vellum rolled up and tucked into the torn section on the left of the page.


I also used some pretty pearls from Flourish With A Bling being FWAB Adhesive Pearls 100 Pack Pewter
and FWAB Adhesive Pearls 100 Pack Plum. And with that I am going to love and leave you and try and get on with my next project. Happy scrapping!!xx

Sunday, March 10, 2013

Liebster Award

Hi everyone :) It's early Sunday morning in South Africa and as usual the first thing I do is make myself a nice cup of tea and then I check my e-mail. Imagine my surprise when I get this lovely message from Di Carling to say that she has awarded me the Liebster award.:) Now, this could not have come from a sweeter, kinder person and I am extremely flattered and honored to be complimented in such a lovely way. Thank you so much Di :)x Di has a beautiful blog and her work is exquisite :) She is a member of the Green Tara design team and also a member of the 2 Crafty Chipboard design team and I have seen her work featured on many occasions. Check out her beautiful blog here.

The Liebster award was designed to be a blog award in the pay it forward fashion. It is awarded to blogs that have fewer than 200 followers to encourage new visitors to them. Once you have been nominated,  you award it to five other blogs.

The rules are: Post the award to your blogs, give the award to five bloggers who you appreciate that have fewer that 200 followers, then leave a comment on their blogs to let them know that you have given them this award.

Now I would love to pass this award on to five other ladies who does such beautiful work and who totally deserves something special and these five ladies are:

Monica Lowrance 
Sandra Scott 
Ingrid Gooyer 
Patty Rogers 
Zaneta Glowa - Zanka 

And that my friends, is all for today :) Till next time.. xx


Sunday, March 3, 2013

You Colour My World

Hello again my scrappy friends :) I made this layout for a challenge over at Berry71bleu hosted by the incredibly talented Kay Fatula. The theme is "You Colour My World" and the challenge is to use paint in any form on your layout. Of course my darling little niece Isabella fits the theme just perfectly. I became very frustrated with this layout as I really struggle to work with more than three colours at most but it kind of came together in the end. I painted the background paper with some gesso and I also painted the little scalloped chipboard circle.I also used Kay's very clever method of rolling journaling into a scroll when you find that you don't have much space on your page especially when you have a bit to say...lol!! What I love about doing journaling this way is that it actually serves as an embellishment at the same time. Thank you Kay...you are such a clever lady :)

On this layout I also used the very cute little FWAB Trent's Fence Puffy from Flourish With A Bling and also some pretty little pearls from Flourish With a Bling  which are the FWAB Adhesive Pearls 100 Pack Pewter. Well, that's me for today. Need to get ready for a hectic week at work again.

Well, that's all from me for today...till next time, stay safe and take care!x

Friday, March 1, 2013

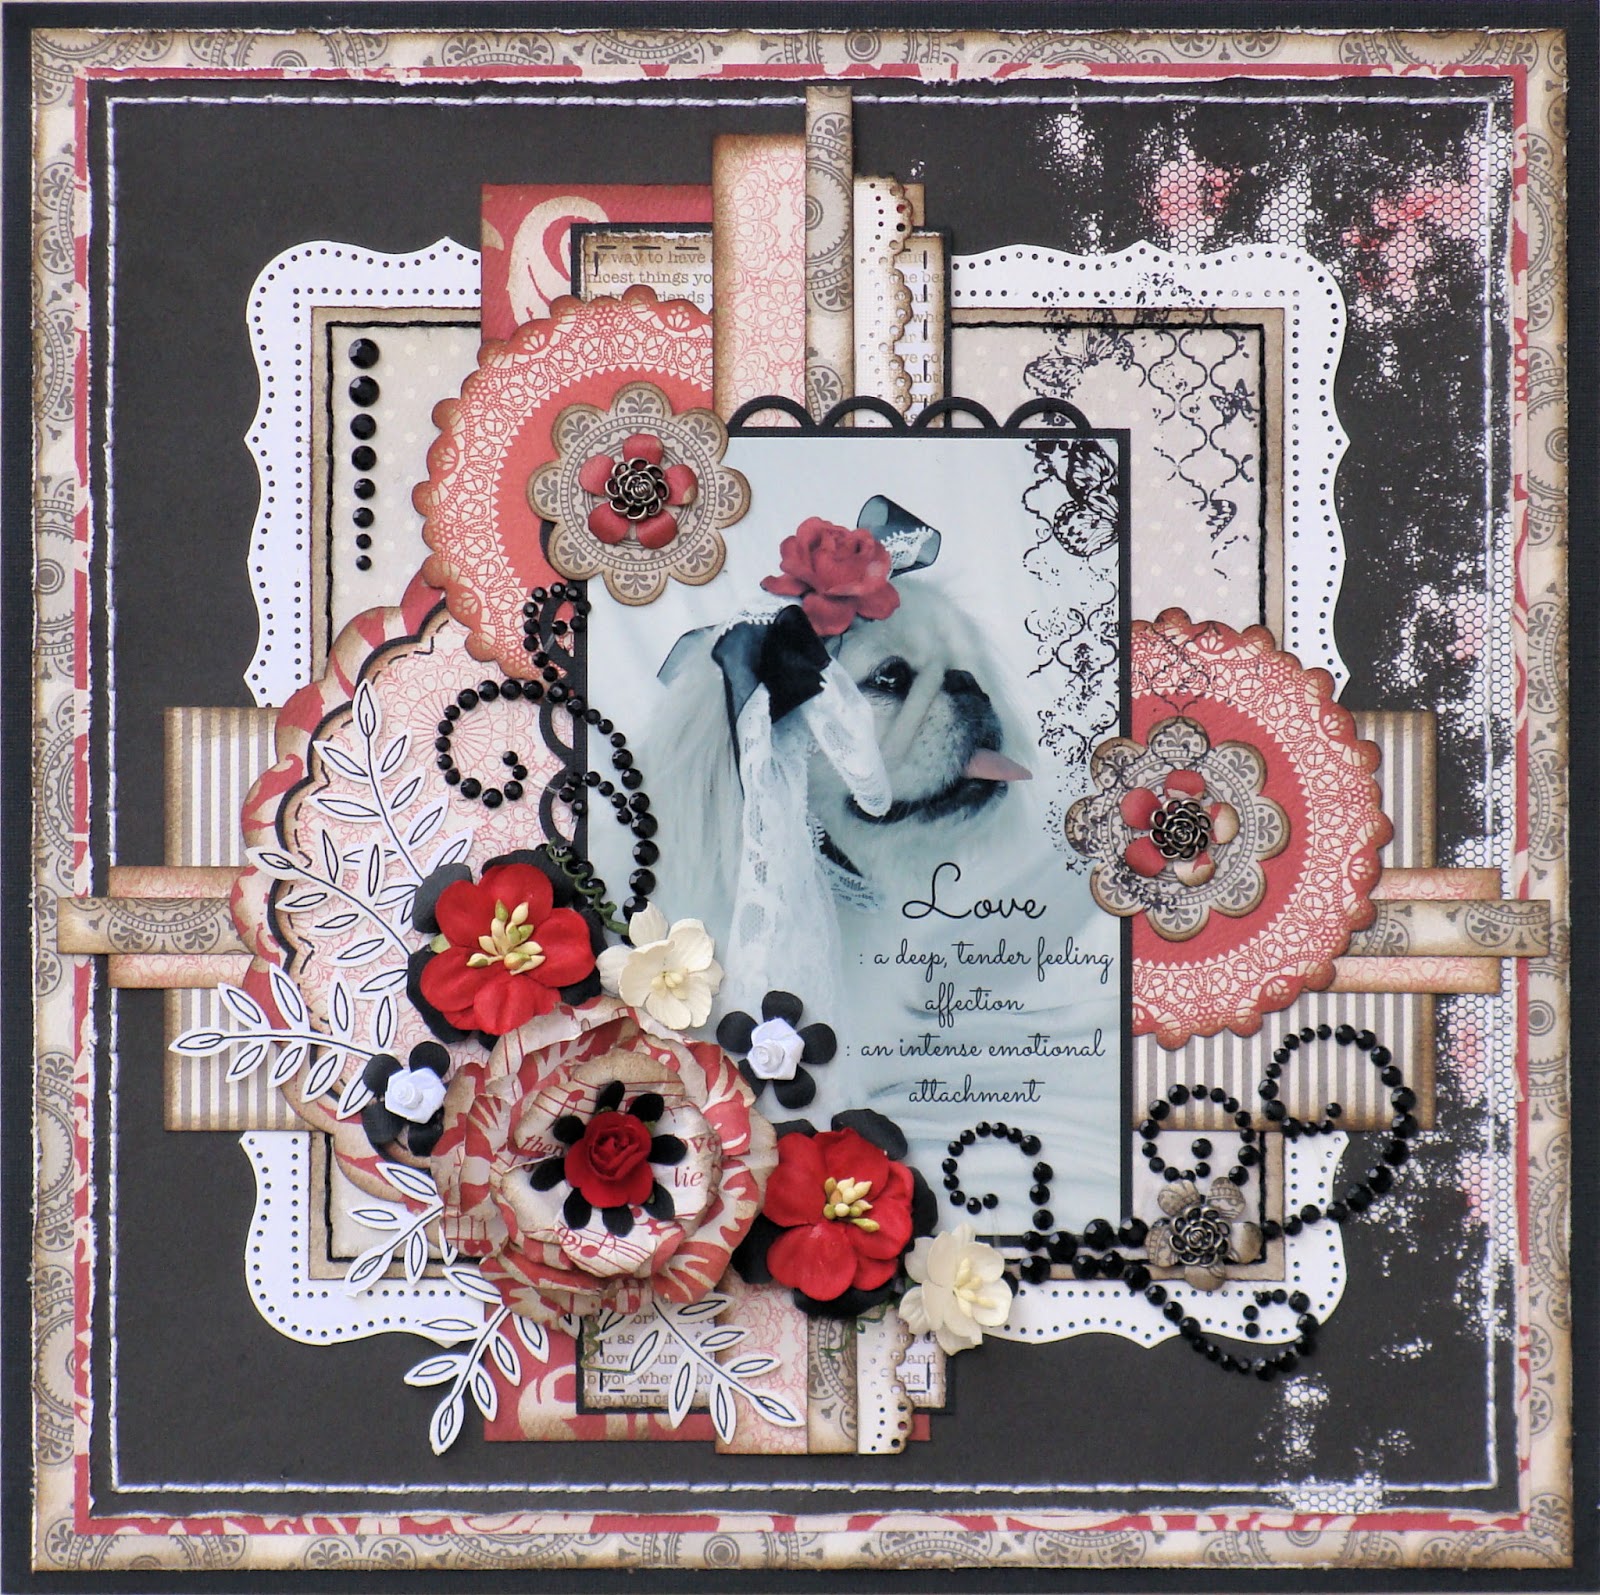
Love

Hello my friends:) This month it is my turn to host a challenge over at Flourish With A Bling and the theme is loosely based on Valentine's Day!! I used the gorgeous FWAB Elise Flourish Black so hop on over to the store and have a look at all their gorgeous products!! Once again poor little Miss Molly had to come to my rescue because Valentine's day often comes and goes unnoticed in this household but for the furbabies in this house it's Valentine's Day every day :) So, by now Valentine's day has definitely come and gone but I still hope you were spoilt rotten and I hope you indulged in tons of chocolate!!

Till next time, take care xx

Wednesday, February 27, 2013

Scrapmatts and Flourish With A Bling Product Swop

Love is A Four Legged Word

Hello again my friends :) Phew, it's been a hectic month, work-wise and scrapping wise. At the beginning of February I couldn't help wondering what happened to January? It seemed as if it passed me by completely and now I am sitting and wondering what happened to February?? Welcome to the Scrapmatts and Flourish With A Bling Product Swop for March 2013! It's been such a lovely project to do because who doesn't love chipboard and bling together? Here are a few projects and close-ups using the lovely Scrapmatts and FWAB products.

Product used:  Scrapmatts CB1016 Birdcages.
                                               CB1016 Bird Cages 01
 Product used:  Flourish With a Bling FWAB Adhesive Pearls 100 Pack Antique Gold
Product used: Scrapmatts CB6072 Birdbaths.
                                            CB6072 Birdbaths 01
Product used:  Flourish With a Bling FWAB Adhesive Pearls 100 Pack Antique Gold
Product used: Scrapmatts CB5060 Signboards. These chippies are sooo beautiful :)
 

                                 CB5060 Signboards 02

Product used:  Flourish With a Bling FWAB Adhesive Pearls 100 Pack Antique Gold
Product used: Flourish With a Bling FWAB Chloe Pearl Flourish Antique Gold, my all-time favorite flourish!!
                                   
                                                 FWAB Chloe Pearl Flourish Antique Gold


And here is my second project for the product swop:
 Cherish


This is my gorgeous niece Kathleen and yes, I am going a little vine crazy lately...just love making them but it takes forever!! Once again I have a few close-ups of the products used on this layout.
Product used: Scrapmatts CB5083 Leaf Spray 03
                    CB5083 Leaf Spray 03


Product used: Flourish With A Bling FWAB Chloe Pearl Flourish Antique Gold. Can't keep my hands off this flourish. Reaching for it has become an automatic reaction..lol!!

                                              FWAB Chloe Pearl Flourish Antique Gold
Products used: Scrapmatts CB1170 Wicker Chair 02
                  CB1170 Wicker Chair 02
Products Used: Scrapmatts CB5060 Signboards 02. I used the centre piece of the original signboard above.
Products Used:  Scrapmatts CB6071 Assorted Words 07
                                
                          CB5060 Signboards 02
               CB6071 Assorted Words 07
And then there are a few close-ups where I used the Flourish With a Bling FWAB Adhesive Pearls 100 Pack Antique Gold.
                                    FWAB Adhesive Pearls 100 Pack Antique Gold


Altered CD
I had so much fun doing this one. Made it for my dear sister in Australia who is constantly in my thoughts and I really do feel like a bird without wings since she left. All the modern technology in the world doesn't make up for not being able to jump into your car, meet, have coffee, laugh the afternoon away, go shopping and just enjoy being together. :( Anyways, let me not ramble...this post is long enough as it is and I really hope that your'e not bored stiff by now..lol!
Products used: Scrapmatts CB1016 Bird Cages 01
Products used: Products used: Flourish With A Bling FWAB Adhesive Pearls 100 pack Pewter
                                    
                                                                   CB1016 Bird Cages 01
Here are two close-ups of the birdies used.

Products used: Flourish With A Bling FWAB Adhesive Pearls 100 pack Pewter.
And a close-up of the gorgeous pearls...love this colour!!
                                             FWAB Adhesive Pearls 100 Pack Pewter
Now for the best part of this whole product swap!! To celebrate our very first product swap, we'd love to give you a chance to win this fabulous FWAB prize pack:)


Leave a comment under this post over at the FWAB Blog (and any of the other FWAB/Scrapmatts product swap blog posts) by clicking on the title at the top of the page and scroll down to the comments section and you wil go into the draw to win this fab prize pack to be drawn on Friday 9th march 2012. "Like" us on  Facebook and leave a comment that the FWAB/Scrapmatts product swap sent you and receive another entry! Don't forget to also go over to the Scrapmatts Facebook page and "like" them and say that FWAB sent you and go into the draw for a fabulous Scrapmatts prize pack up for grabs on their page as well! Don't forget to check back with us tomorrow for another DT share for the Scrapmatts/FWAB product swap and also make sure to check out the Scrapmatts blog here for stunning creations by the Scrapmatts design team.

HAVE FUN and take care!! xx


Monday, February 25, 2013

Twelve Tags of 2013 (February) Tim Holtz

Hello friends:) Just a quick post. My take on the February Tim Holtz 12 Tags of 2013 which you can find here. This is so very unlike me but I have a great time doing them and look forward to the March one :) Thant's all from me for todady :) Take care and bye for now!!xx

Thursday, February 21, 2013

One in a million - Scrap Africa Challenge 7

A DT project for Scrap Africa . Challenge # 7 is dedicated to the wonderful men in our lives - big or small. Make any scrap object dedicated to a man or a boy. The catch is that it must have a phrase on it: It can be your own words or a quote but it must tell what is so special about that person to whom you are dedicating your project. This is Eddie, my hubby, my friend, my soulmate and most of all my conscience..LOL!!